
Making Your Own Stencils - 4-H Thank You Cards
Two years ago, Hubby surprised me with a Brother Scan and Cut for my birthday. This machine has freed me from the concept of needing to purchase matching dies for any of my stamps. It also gives me the freedom to cut all kinds of things, including my own stencils.

Prior to having a scan and cut I'd made stencils using dies with card stock and making paper. While great for a single project, they often aren't reusable for any length of time. I've also used acetate to create reusable stencils, which are a great option.

Having a scan and cut was going to be a game changer in the stencil-making arena. While searching for mylar sheets at Michaels, I asked one of the associates and she said they didn't carry what I was hunting for. Then she smiled and said but I think I have a solution. She lead me to the poster board section and showed me the translucent plastic poster board. Score! This associate knew her stuff! This poster board was cheap, and I could cut it any size I wanted. From one 22x28 inch sheet, I was able to get 12 - 6x6 inch pieces, 6 - 4x6 inch pieces, and 2 - 5x4 inch pieces.

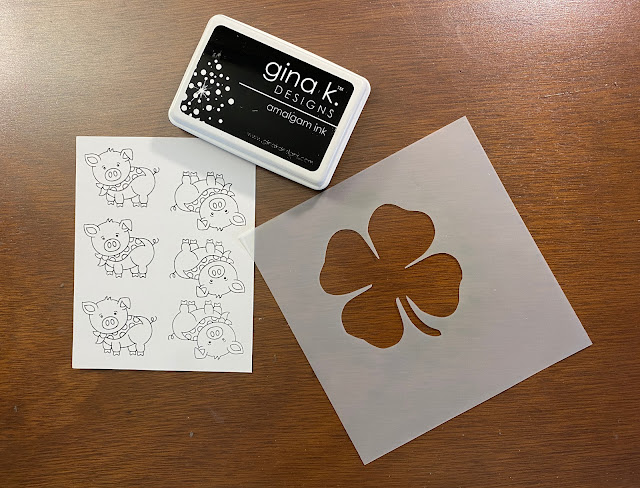
For this project, I downloaded a four-leaf clover SVG to the Brother CanvasWorkspace app on my computer. I edited the design to the size that would fit an A2 card front and then sent the image to my machine. My homemade stencil blank was tacked to the cutting mat and loaded into the machine, the design was selected, and the machine was set to cut. The Brother Scan and Cut cut the stencil like butter! I ended up with both a stencil and a mask from my reusable material.

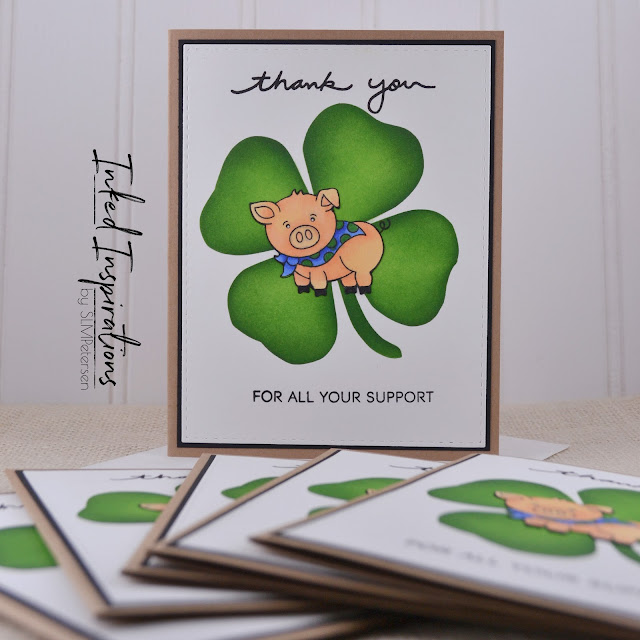
For these cards, the clover was ink blended onto a white card stock panel, using Distress Ink in Mowed Lawn and Rustic Wilderness. First, blending Mowed Lawn in from the outer edge and using a lighter hand towards the middle, leaving a highlight. Rustic Wilderness was then blended around the edges to add depth. After completing the clovers, I cut each panel with the Simon Says Stamp Stitched Rectangle dies.

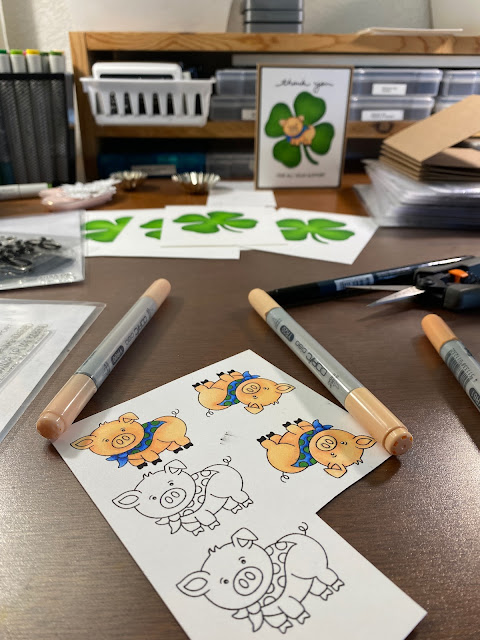
The little pigs were stamped in Gina K Amalgam ink and Copic colored. I used the scan and cut to cut the colored images, then colored the edge of each image with a black Momento marker. One little pig was glued into the center of each clover. I completed the cards by stamping the sentiment onto each white panel, matting each panel on a black mat, and adhering them to a kraft card base. I added a little dot of white into each pig eye to create a little highlight.
Comments
Post a Comment