Posts

Showing posts with the label stencils

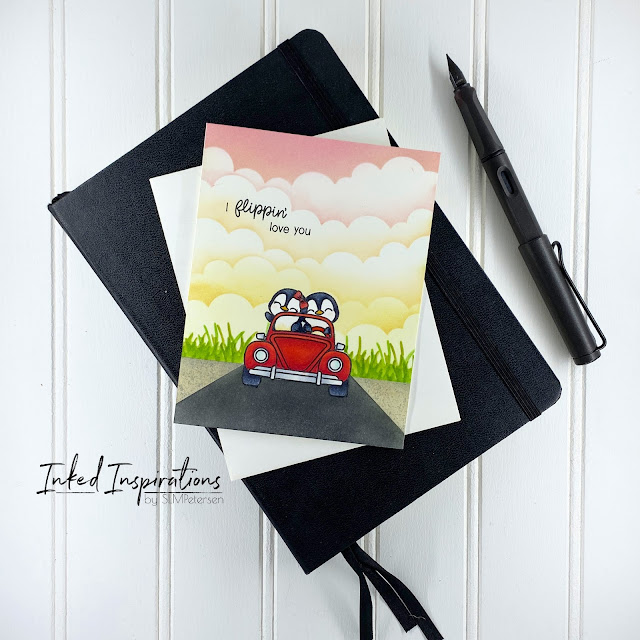
I Flippin' Love You - Sunny Studio Passionate Penguins
Image
I flippin' love this penguin set from Sunny Studio.  I mean seriously?  How could you not love these little guys?  Penguins in a little convertible!  This is the stamp that sold me on needing this set.  Yes.  I said need, and a stamp this cute needed a scene to go with it. I have to say several years ago when I started watching Kelly Taylor build her scene cards I was mesmerized, but I never saw myself building them.  Now, here I am making them! I started this card by stamping and masking my little love penguins in their convertible.  After I masked my car, I used some post-it tape to mask off the bottom of my card so I could build the sunset and add the grass.   The sunset sky was ink blended using Taylored Expressions cloud stencil with Distress Inks in Kitsch Flamingo, Tattered Rose, Saltwater Taffy, Dried Marigold, and Scattered Straw.  With my sky done I added grass using Taylored Expressions grass stencil with Mowed Lawn and P...

Clean and Simple Abstract Wedding Card

Image
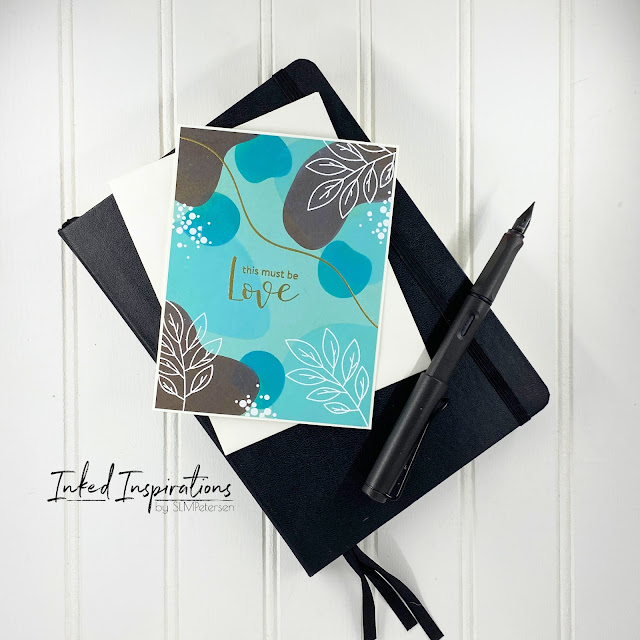
I'm sure you've guessed by now that the abstract technique has taken up permanent residence in my card-making repertoire.  Because I use stencils to build my abstracts and I love ink blending, the possibilities are endless and the options infinite.   If you like the abstract look you want to check out my posts Inspired by Mindy Egan - Abstract Card , More Abstract Card Ideas , and Drawing Inspiration from Outside the Card Making Realm .  Today's card is a modern wedding card. I started this card by ink-blending my abstract composition.  I started with Dried Marigold and the largest shape then added the next largest shape with Saltwater Taffy, and finished with the small shape in Speckled Egg.  As I built the composition I wanted to retain a large white space in the middle.  Once I completed the ink blending, I trimmed the panel with the retired Sizzix Dotted Rectangles largest die. I added the dress and the stacked sentiment using VersaFine Black....

Drawing Inspiration from Outside the Card Making Realm

Image
I thought we'd start the week by talking about inspiration and where to find more ideas.  Back a couple of weeks ago I talked about being inspired by Mindy Egan and her Abstract Art for Clean & Simple Cards . I really fell in love with this technique and have made several cards with this technique.  After I'd created a few abstract designs I went down the Pinterest rabbit hole.  I dropped abstract cards in the search bar and found tons of inspiration for layout ideas and color combs.   Pulling inspiration from somewhere other than your own art niche can bring to light different color combinations, new ideas for design elements, and even new techniques.  While my main focus is on creating cards, I draw inspiration from fabrics, photography, watercolor, tile, home decor, and so many other places.   For this card, I drew color and design inspiration from a  business card design  I saw on Pinterest.  To start my design I opted for...

Taylored Expressions Autumn Array - Give Thanks

Image
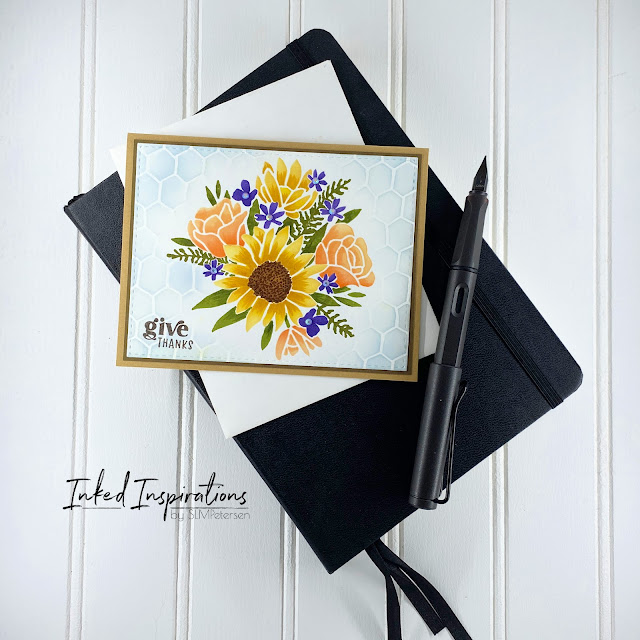
Taylored Expressions has some fun and unique stenciling products, including the stamp and stencil set I used on this card.  I love my ink blending and stencils but decided to kick it up a notch on this card, after watching Kelly's video -  Hero Arts Holiday Catalog, Holiday Birds & Wreaths .  She added depth and dimension to a stenciled wreath and it seemed like the perfect way to punch this card up a bit.   With this set, the leaves of this bouquet are stamped with a red rubber stamp before layering the flowers to build the bouquet.  Each stencil in the set is etched with outlines of the leaves, making it easy to line up each stencil layer.  When building this card, I used Distress Inks for stamping the leaves, as well as the ink blending.  Yes, you can stamp with Distress Inks.  In my opinion, stamping with Distress Inks creates a smoother impression with red rubber stamps than with clear stamps. For additional interest, I also used the...

Making Your Own Stencils - 4-H Thank You Cards

Image
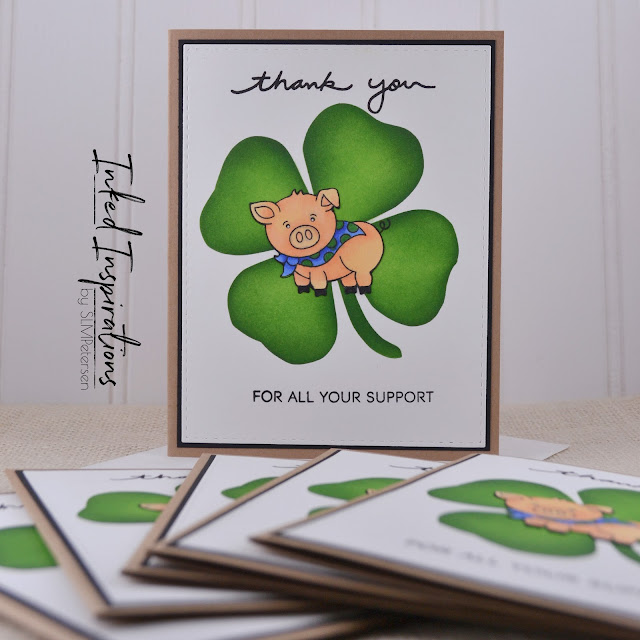
Two years ago, Hubby surprised me with a Brother Scan and Cut for my birthday.  This machine has freed me from the concept of needing to purchase matching dies for any of my stamps.  It also gives me the freedom to cut all kinds of things, including my own stencils.   Prior to having a scan and cut I'd made stencils using dies with card stock and making paper.  While great for a single project, they often aren't reusable for any length of time.  I've also used acetate to create reusable stencils, which are a great option.    Having a scan and cut was going to be a game changer in the stencil-making arena.  While searching for mylar sheets at Michaels, I asked one of the associates and she said they didn't carry what I was hunting for.  Then she smiled and said but I think I have a solution.  She lead me to the poster board section and showed me the translucent plastic poster board.  Score!  This associate knew her stuff!...

Ink Blending - Brick Backgrounds

Image
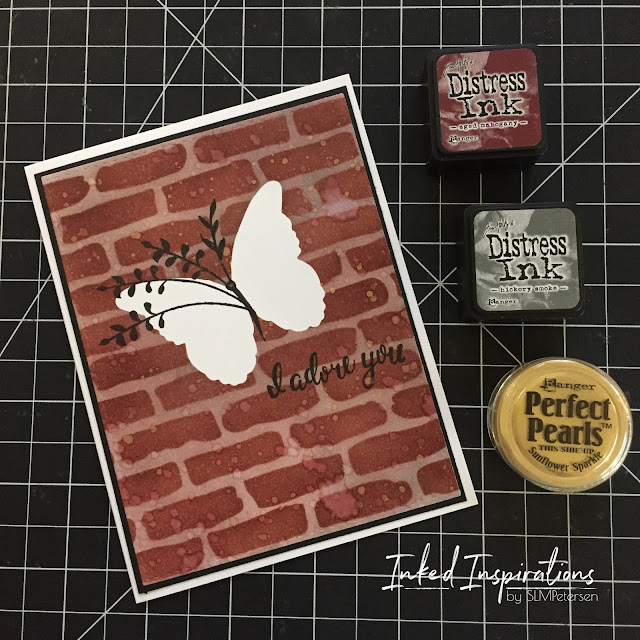
While I was writing yesterday's post, my memory sparked and I thought about some of the brick backgrounds I've created with ink blending.  Sometimes I build an entire card, like the butterfly below, and sometimes I just build backgrounds like the THX card.  Building backgrounds is a great way to try new techniques with no pressure.  The first brick background I created in 2018.  I masked the white butterfly with a Post-it note mask made from a butterfly die cut, then laid the brick stencil over the top.  I applied Distress Inks in Aged Mahogany and added a bit of shadow with Hickory Smoke.  I removed the bricks and added a light layer of both inks to tone down the white of the grout.  Splatters of water and splatters of Perfect Pearls in gold were added before removing the butterfly mask.  I drew on a few branches, some to represent antennas, and added the butterfly body.  From there I stamped the sentiment, matted the panel on black, and the...

Stencils - Layering & Spotlight Color

Image
I love my stencil collection, but I don't think I use them anywhere nearly enough. I'm also a huge fan of the stencil layering technique. Layering stencils expands the supplies you already have in your stash, creating countless possibilities. For this card, I used a basic circle stencil and the Organic Matter stencil from The Crafter's Companion. Let's talk about how striking this large sunflower is!  When I purchased this set I had the full intention of coloring it with Copics, which I will eventually, but I really wanted to let the line art take center stage on this card.   What better way to make an image pop off the page than with a big pop of color?  I started by applying a circle frame stencil over top of a panel of Neenah Bright White cardstock. ( Quick tip:  I use a repositionable spray adhesive on the back of all my stencils).   Over the top of the circle, I layered the Organic Matter stencil. Using a blending brush I applied Squeezed Lemonade Di...