Posts

Showing posts with the label Patterned Paper

Creating Multiples - All You Need is Love & More Coffee
Image
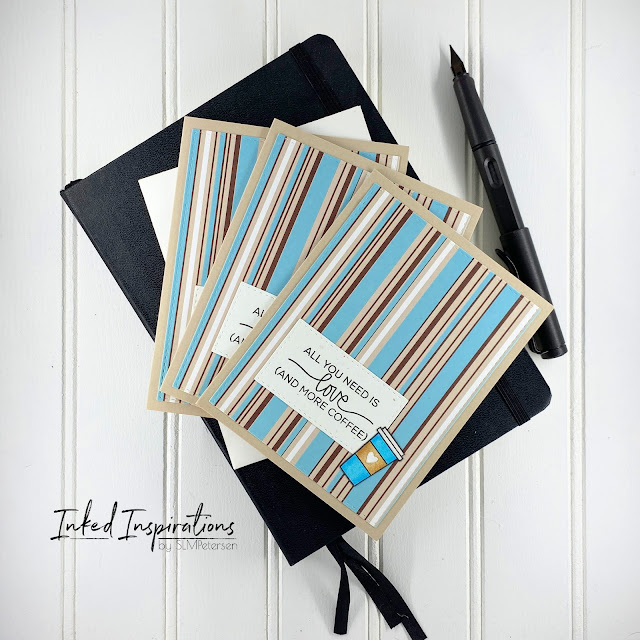
Do you create in singles or multiples?  I do both.  Multiples can be anything from two to six or more.  When I create multiples I often create them with patterned paper.  This is determined by how much of a specific pattern I have, it dictates how many of a card design I can create.   For today's cards, I had enough striped paper to create three cards.  I let the paper dictate the color palette for the card designs.  When I pulled these stripes from the basket I felt a coffee shop vibe, so coffee cards they became.   These stripes are bold and can carry a card on their own, so I needed a bold sentiment and a little embellishment to keep them clean and simple.  I pulled a sentiment and coffee cup from the Technique Tuesday Perk Up stamp set.  I used my favorite set of stitched rectangle dies to cut both the pattern paper and sentiment block.   I used my Copics to color my coffee cups to match the patterned paper. ...
Thanks Trio - Using Die Cutting Diva’s CC Sketch #56

Image
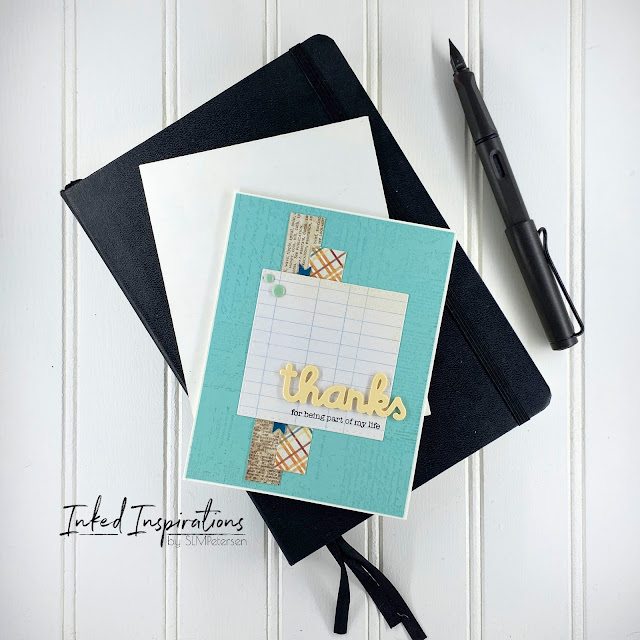
Today’s trio of cards were created with pattern paper scraps and a few die-cuts from my stash. For a while, I subscribed to the theory that if I cut a bunch of die cuts at once I would have them ready to use.  The problem with this is that I began storing them and never using them. As a general rule whatever I already had cut was the wrong color for the card I wanted it on. As a result, I would cut a new one and never use the ones I had pre-cut in my stash.  Now I’m in use it up and quit storing mode. For these cards, I began with Die Cutting Divia's CC Sketch #56 from January 2017 and collected a few strips of patterned paper from my scrap stash. For each card, I selected patterns that worked well together and then found a solid color to fit the color palette for my card panel.  I stamped the solid panel with the Prima Iron Orchard Texture stamp using VersaMark Ink for a tone-on-tone effect.  Once stamped, the panel was added to a white card base. I layered strips o...

Scrap Busting - Holiday Tags

Image
If you're like me, then you have a stash of scraps. Scraps in all sizes, shapes, colors, and especially patterns.  I'm terrible about hanging onto even the smallest of patterned paper scraps.  So today, we're talking about making tags for the holidays.  I have six ideas for tags today, all from scraps in my stash.  I started this project by pulling my file of Christmas and Winter paper scraps.  To fill in a few of the gaps I added patterned paper that matched the color scheme for each set of tags.   My goal was to use only scraps for these tags.  I pulled some of my tag dies and began cutting my scraps, sorting them into color schemes as I went.  I also cut enough white to back each tag.  I stamped the back of each tag "to" and "from" and added sting to each to finish them. Gingerbread men seem to be synonymous with Christmas, so I couldn't help but make a set of tags with them.  For the tags, I used the Pink Fresh Studio Stiched ...

Freshly Made Sketch #197 - Trio of Butterfly Cards

Image
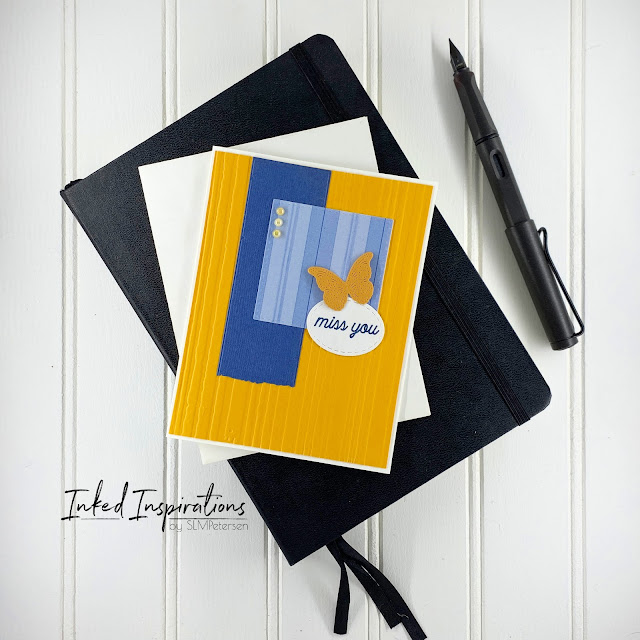
These cards are from a few weeks ago when I was focused on combining the use of card sketches with my scrap stash.  For these three cards, I used Freshly Made Sketch #197 and a few elements from my embellishment stash. For this first card, I worked with a complementary color palette of blues and yellow oranges.  I started by running the yellow-orange card stock through an older Tim Holtz Texture Fades embossing folder called Stripes and adhered it to a white card base. Then I began laying my elements, starting with a banner of textured dark blue that I cut using the Homenty Bee Stamp Banner builder dies.  Layer three is a square cut using some older patterned paper and the Art Impressions Stitched Squares dies.   I added the sentiment using a stitched oval cut with Simon Says Stamps stitched oval dies and stamped “miss you” with a stamp set from My Favorite Things.  To complete the card I added a butterfly cut from a dark shade of yellow-orange cardstock u...

Stamping on Patterned Paper to Create Card Elements

Image
This post is a little later than my regular scheduled posting, but I've got a lot going on in my life and the blog seems to always get put in the back seat when things get crazy.  Today's post is a short one, let's jump in. This is not nor will it be the last post with these fabulous furniture stamps from Altenew.  I've had my eye on these stamps for a while and finally put them in my cart a month ago.  I've been playing with them off and on since.  Today's cards are the first two cards I made using these.  The technique I used to create these simple cards was simply stamping on patterned paper and fussy cutting.  I pulled my scraps out and stamped each chair onto a small pattern that seemed fitting for upholstery. For the first card, I stamped the chair onto a scrap of striped patterned paper and a small piece of blue that matched the stripes.  Then I stamped the chair on the white panel I would be building my card on and colored only the legs.  ...

Shopping Your Stash - Playing with Fun Folds and Windows

Image
Sometimes I see techniques and think "Nah, that's cute but not really for me", but then I hit a creative wall and pick something to challenge my creative ideal.  Fun folds and windows are two of those "Nah" techniques.   Before I go into the details of this make, I really want to encourage you to shop your stash.  Any dies and stamps will work for this technique combo.  Large shapes are great for windows and any cute stamp can peek through.  Color your image with your favorite medium.  I think flowers would be a fun window card peek through as well. This card started with the polka dot paper and inspired my color palette.  Jumping off from there, I pulled a second scrap of patterned paper and Copic colors that would fit my palette idea.  After I had a color palette I shopped my stamps and dies for further inspiration.   While shopping my stash, these cute Darcie's penguins came into view.  Bingo!  This little penguin in pi...

Mini File Folder Card Idea

Image
The envelope punch board occupies space in my studio, but it's rarely used.  I won my punch board as a giveaway ages ago and I rarely make my own envelopes.  I'd seen some cute ideas on Pinterest for using it to make file folder tabs on cards but had yet to try the idea.  Then a couple months ago I had a request for office goodbye cards.  Is there a more perfect card idea for office cards than a cute mini file folder?  I think not! I started with an A2 card base, punching a tab on one side, then trimming the opposite side of the card to build my file.  If you're looking for exact measurements for creating the tabs,  this is the tutorial  I took my inspiration from. I added a gift card pocket using my Honey Bee Stamps pocket die.  Because of the style of the card, I put the interior panel for the note on the front side of the card and the gift card pocket on the back.   I kept the design simple using patterned paper scraps, rounding...

Shop Your Stash - Patterned Paper and Large Words

Image
For this week's Shop Your Stash you'll need patterned paper, a large word die, and a large shape die.  We'll be building a clean and simple layered card.  The goal is to shop your stash, but as always I've provided shopping links below the post. If you've been making as long as I have you probably had a stash of patterned paper somewhere that is collecting dust. I've been working on cutting mine into card panels for future projects.  When the creative block hits I pull a stack of 12x12 paper and cut it down.  Often times the pattern will spark an idea and I'm off to the races.  It's surprising how inspiring this can end up being.   Patterned paper can also be a quick and easy way to create multiples of any clean and simple design.  From every sheet of 12x12, I can get six, 4 x 5 1/4 inch card panels.  This means I can easily make six of the same card design.  If I love the pattern, I  opt for a card design that is clean and simple a...